DIY:学习如何为厨房制作一个储藏室架子
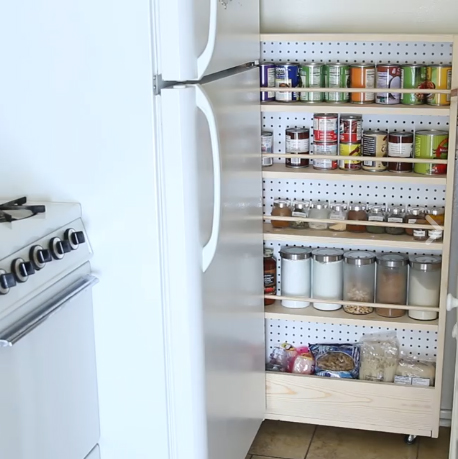

Nifty有一个伟大的想法,就是利用冰箱和侧墙之间的空间,下面请看教程(由Buzzfeed发布),组装一个秘密的架子,这将使一切变得不同。厨房里的差异:
你将需要:
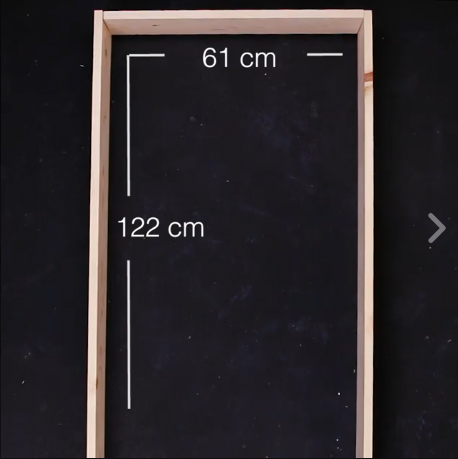
- 2块长122厘米、宽180厘米的木板
- 7块长61厘米、宽182厘米的木板
- 4根1.3厘米的木条
- 木材胶水
- 木螺钉
- 演习
- 砂纸或电动砂光机
- 4个轮子/支架
- 4块挂板或薄板,30.5cm x 61cm,用于背面。
- 手柄(可选)
如何做到这一点:
See_also: 适度的外墙隐藏着美丽的阁楼1. 组装结构:将两块122厘米的木板放在侧面,将一块61厘米的木板放在上面。 用钻头将它们固定好。
See_also: 厨房布局的权威指南!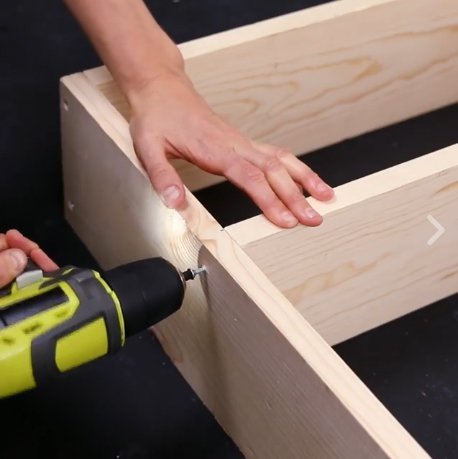
2. 将前三个架子放在框架上,在它们之间留出大约17.8厘米的空间,然后根据你想在那里储存的东西增加其他的架子。 在最后一个架子上,Nifty公司的人创造了一个储存空间,前面有一块61厘米的木板--建议在那里储存较大的东西,如谷物和土豆。
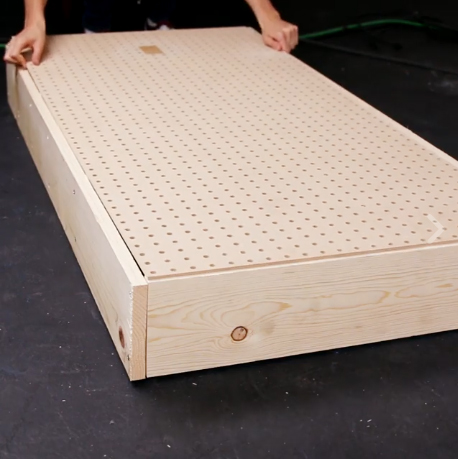
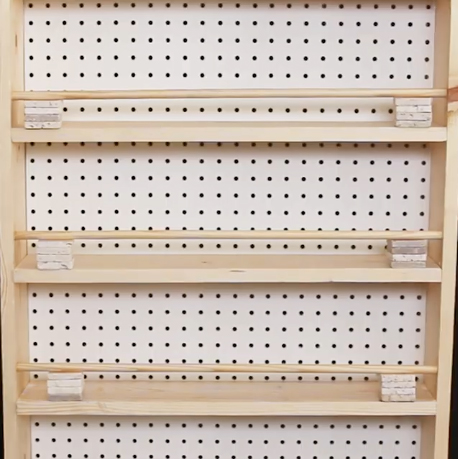
3. 转动框架,让架子的部分朝向地板,贴上将作为底部的挂板或木板。
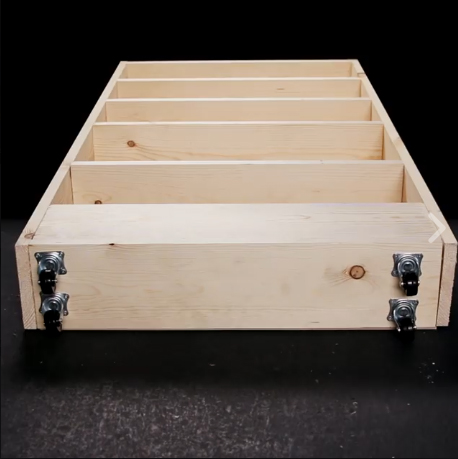
4. 利用这个位置,把轮子(或脚)固定在框架上。
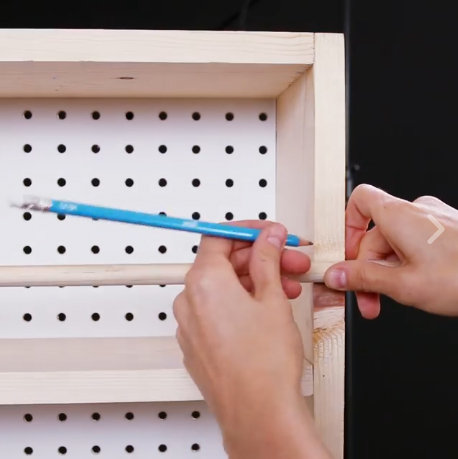
5. 是时候去拿棍子了:测量一下,使其与架子的内部完全吻合--它们将帮助保持每件东西的位置。
6. 不要忘记打磨所有的东西,这样就不会有碎屑脱落--你也可以在结构上涂上你喜欢的颜色。 如果你愿意,你也可以加一个把手。 当你完成后,只要把架子滑到冰箱和墙之间的空间里,就可以享受了!
请看下面视频中的完整步骤:
