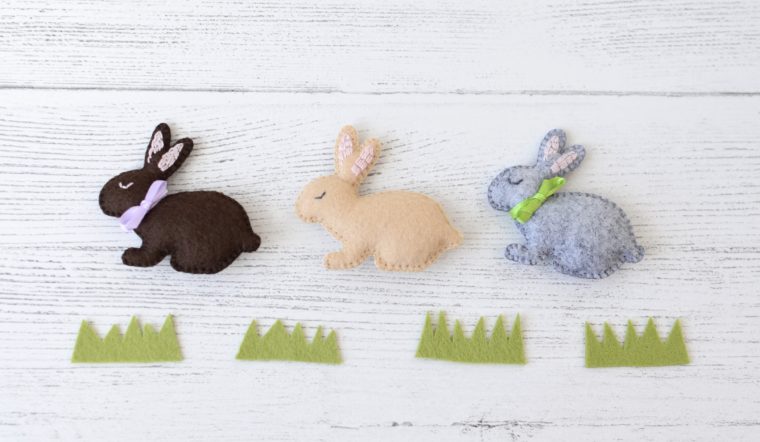
DIY:用这些毛毡兔子照亮你的家

 DIY:用这些毛毡兔子照亮你的家

Brandon Miller

Table of contents

    如果你对复活节、可爱的东西或两者都有热情,这个DIY是为你准备的!这些毛毡兔子使庆祝活动更加有趣,可以把它变成一个简单的毛绒动物供孩子们玩耍,或者把它变成装饰篮子、摩拜单车和花环。 这是一个 非常简单的教程 你可以在45分钟内完成。 黄色鸟巢》:

    你将需要

    • 印刷的兔子模具
    • 7.5厘米×15厘米的羊毛毡(每块)。
    • 匹配的绣花线
    • 粉红色的绣花线
    • 用于填充的聚酯纤维
    • 剪刀
    • 镊子

    如何做

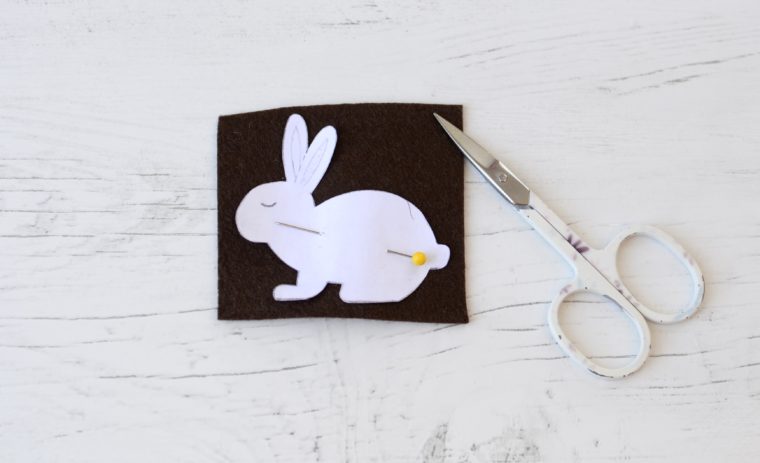
    剪下纸质模板并钉在毛毡上。 然后,用小而锋利的刺绣剪刀小心地从模板上剪下兔子。 剪下两块毛毡(兔子的两面)。

    See_also: Landhi:让灵感成真的建筑平台

    接下来,做一些刺绣的细节。 值得用两股粉色的线做一个简单的反缝,以填补耳朵的位置。

    3.可以只在兔子的一面绣上细节,但也可以在两面都绣,这取决于你给作品的目的。

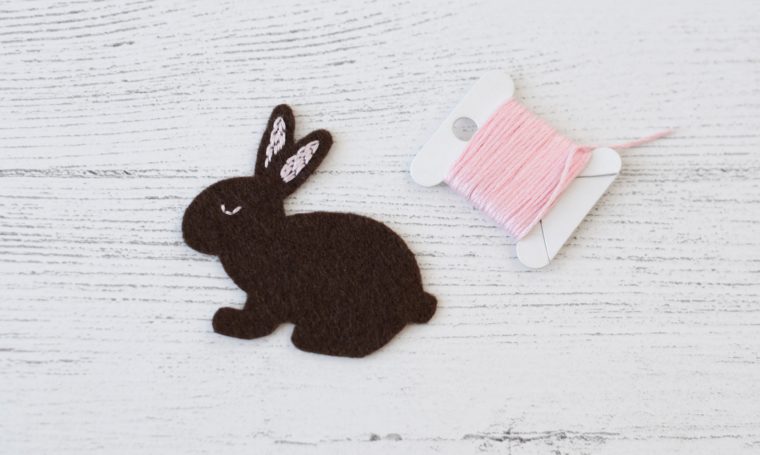
    4 - 至于颜色,选择对比:对于深色的兔子,使用浅色的纱线,如粉色。 对于浅色的兔子,使用灰色的纱线,例如。

    用两根线做毯状缝合,缝合正面和背面。

    从兔子的脖子后面开始,绕过耳朵,用镊子小心翼翼地把耳朵塞进去。 继续缝,在前腿之后停下来,在尾巴之后再次塞进去。 继续在兔子的背上,边走边用聚酯纤维塞,直到回到起点。

    See_also: 保护房屋和抵御负面情绪的配方

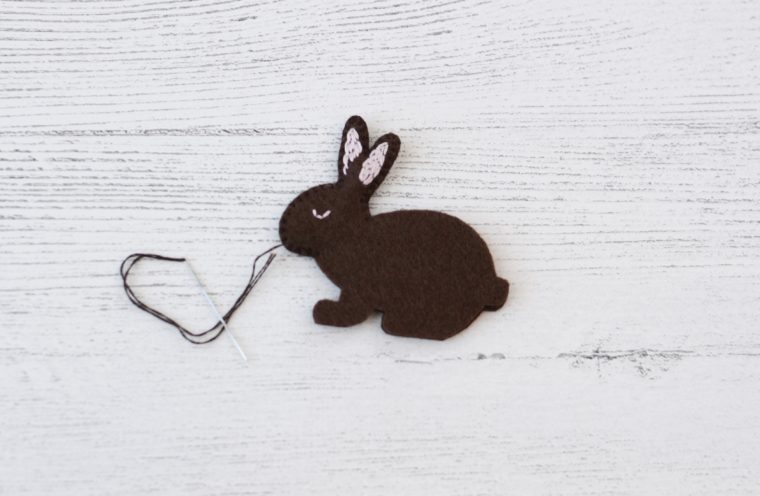
    7.现在你可以在脖子上系上一条小丝带,你的DIY复活节兔子就准备好了!

    * 通过 黄色的鸟巢

    私人:你(可能)忘记打扫的7个地方
  • 我的家 "在我之后整理":学习如何在没有杂物的情况下整理外观
  • 我的家庭冰咖啡配方
  • Brandon Miller

    Brandon Miller is an accomplished interior designer and architect with over a decade of experience in the industry. After completing his degree in architecture, he went on to work with some of the top design firms in the country, honing his skills and learning the ins and outs of the field. Eventually, he branched out on his own, founding his own design firm that focused on creating beautiful and functional spaces that perfectly suit the needs and preferences of his clients.Through his blog, Follow Interior Design Tips, Architecture, Brandon shares his insights and expertise with others who are passionate about interior design and architecture. Drawing on his many years of experience, he provides valuable advice on everything from selecting the right color palette for a room to choosing the perfect furniture for a space. With a keen eye for detail and a deep understanding of the principles that underpin great design, Brandon's blog is a go-to resource for anyone who wants to create a stunning and functional home or office.